
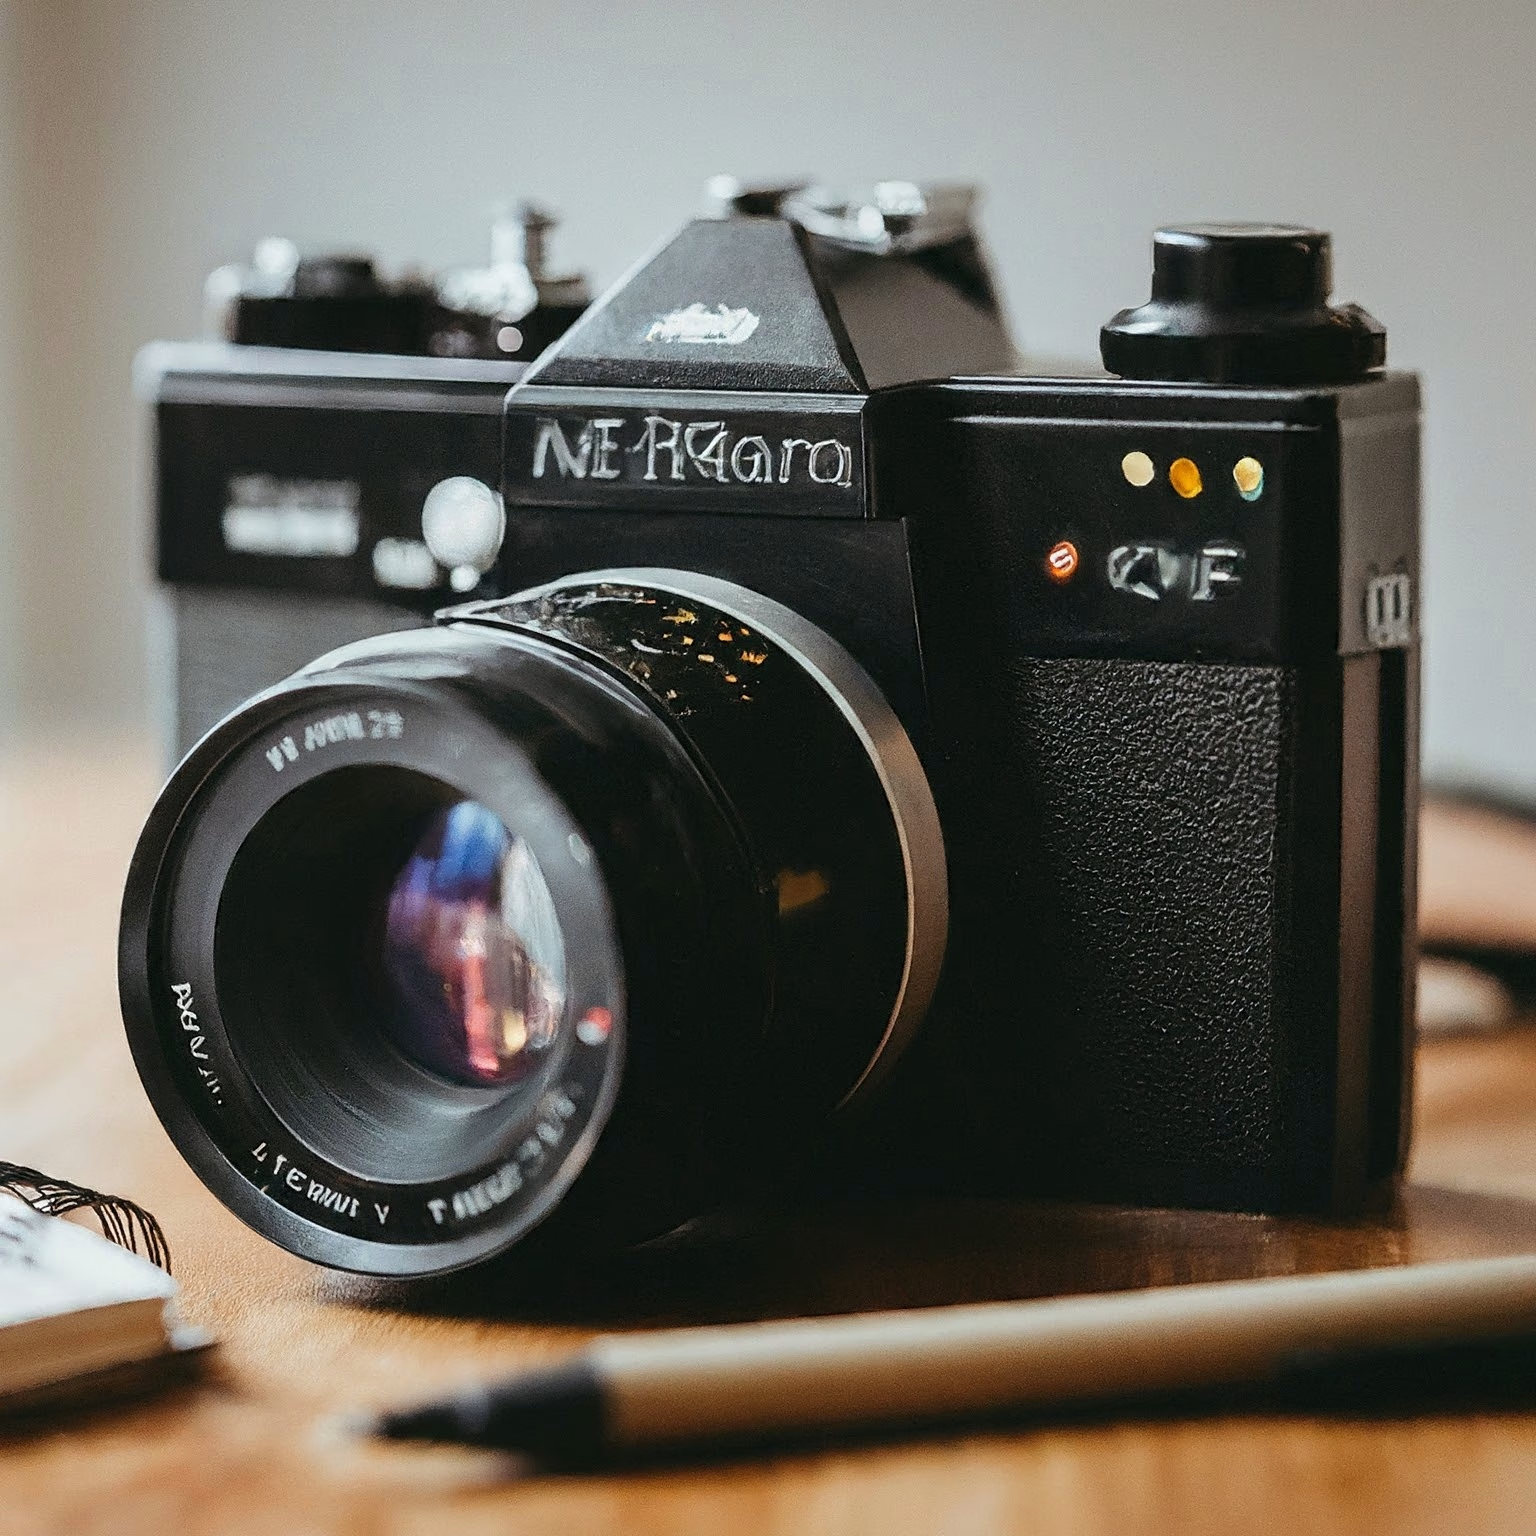
Every photographer remembers the first time they moved off Auto mode and started making deliberate choices about how a photograph would look. This camera settings guide covers the core controls — aperture, shutter speed, ISO, focus modes, and more — that determine the outcome of every image. Master these settings and photography stops being guesswork and starts being a creative decision.
The Exposure Triangle
Three settings work together to create a correctly exposed photograph: aperture, shutter speed, and ISO. Change one and you affect the others. This relationship — the exposure triangle — is the foundation of every camera settings guide, and understanding it is the single most important step for any photographer moving beyond Auto.
Aperture
Aperture is the opening in your lens that controls how much light reaches the sensor. Measured in f-stops, a lower number means a wider opening: f/1.8 admits far more light than f/11. Aperture also controls depth of field — how much of the scene appears in sharp focus. A wide aperture like f/1.8 produces creamy background blur (bokeh), ideal for isolating a portrait subject. A narrow aperture like f/11 keeps everything from foreground to background sharp, which is essential for landscapes.
- Portraits: f/1.8–f/2.8 for subject isolation and smooth background blur
- Landscapes: f/8–f/11 for sharpness across the entire frame
- Street photography: f/5.6–f/8 as a versatile everyday setting
Shutter Speed
Shutter speed controls how long the sensor is exposed to light. Fast speeds like 1/1000s freeze motion — a bird mid-flight, a wave crashing, an athlete at full stride. Slow speeds like 1/15s create motion blur, producing the silky waterfall effect or light trails in night photography. A practical handheld guideline: use a shutter speed of at least 1/(your focal length) to avoid camera shake. At 50mm, use 1/50s or faster. At 200mm, you need 1/200s or a tripod.
ISO
ISO controls how sensitive your camera’s sensor is to light. ISO 100 is the base — clean images with no grain. As you increase ISO to 1600, 3200, or 6400, you can shoot in darker conditions, but digital noise (a grainy texture visible in shadows) becomes more apparent. Modern cameras handle high ISO far better than older models. A good starting approach: set Auto ISO with a maximum of 3200, then reduce that ceiling as you become more comfortable managing all three exposure variables manually.
Camera Modes
The mode dial gives you different levels of control over the exposure triangle.
Manual Mode (M)
You set aperture, shutter speed, and ISO independently. Total creative control with no automation. Best for studio work, long exposures on a tripod, and situations where locking every variable in place is essential.
Aperture Priority (A or Av)
You choose the aperture; the camera calculates a matching shutter speed. The most popular everyday mode — you control depth of field, the camera handles exposure. Best for portraits, street photography, and travel.
Shutter Priority (S or Tv)
You set the shutter speed; the camera selects the aperture. Best for sports, wildlife, and any situation where controlling motion blur or freeze is the priority.
Program Mode (P)
The camera sets both aperture and shutter speed but lets you shift the combination while maintaining the same overall exposure value. A useful middle ground for beginners learning how the two settings relate.
White Balance
White balance tells your camera what “white” looks like under the current light, removing unwanted colour casts. Daylight appears neutral to cool; shade is distinctly blue; indoor bulbs cast warm orange. Auto White Balance (AWB) handles most situations well. For a series of images you need to match in editing, use a manual preset: Sunny for direct outdoor light, Cloudy to add warmth in overcast conditions, Tungsten to neutralise warm bulb light. If you shoot RAW, white balance can be corrected perfectly in post-processing — making preset selection optional rather than critical.
Focus Modes
Single AF (AF-S / One Shot)
The camera locks focus on a half-press and holds it. Use for stationary subjects — portraits, architecture, landscapes, still life.
Continuous AF (AF-C / AI Servo)
The camera tracks focus continuously as your subject moves. Essential for sports, wildlife, birds in flight, and children.
Manual Focus (MF)
You turn the lens ring to set focus yourself. Useful for macro photography, astrophotography, shooting through glass, and scenes where autofocus hunts or locks onto the wrong element.
RAW vs JPEG
JPEG is a processed, compressed file the camera produces by applying its own sharpening, noise reduction, and colour settings. Files are smaller and ready to share immediately — but editing flexibility is limited. RAW captures the full unprocessed sensor data. Files are larger and require editing software, but the latitude for adjusting exposure, white balance, and recovering shadow and highlight detail is dramatically greater. The recommendation: shoot RAW while learning. The larger files are worth the editing flexibility, and reviewing RAW files teaches you exactly what each camera setting does to the final image.
Where to Start
If you are new to manual controls, begin with Aperture Priority (Av). Set f/5.6 as a starting point, enable Auto ISO with a maximum of 3200, and let the camera handle shutter speed. This teaches you depth of field in real shooting situations without the complexity of managing all three variables at once. Once aperture feels intuitive, introduce shutter speed control — then ISO. By the time you move to full Manual, you will already understand the exposure triangle rather than guessing at it. Practice reaching the key dials without lowering the camera — the controls should become muscle memory so you are never missing a shot searching for a setting.




One Response